page-header

Equipment Guide

Recording Your Voice: VO Equipment Basics
Getting up and running with your first VO recording setup

The tools we need to record ourselves continue to become more affordable. This is truly a great time to be setting up a home-based recording studio. Gear gets better every year and affordable recording software lets us efficiently record and edit our audio. Quality once reserved for only top-end studios can now be put to use in your personal recording setup.

But trying to choose between all of the options can be overwhelming. On the internet, everyone seems to have an opinion on the “best mic” or what equipment you “need.” People are always willing to help you spend lots of your money on studio equipment. Or you get the impression that if you don’t have exactly the “right” mic, your audio quality will suffer.

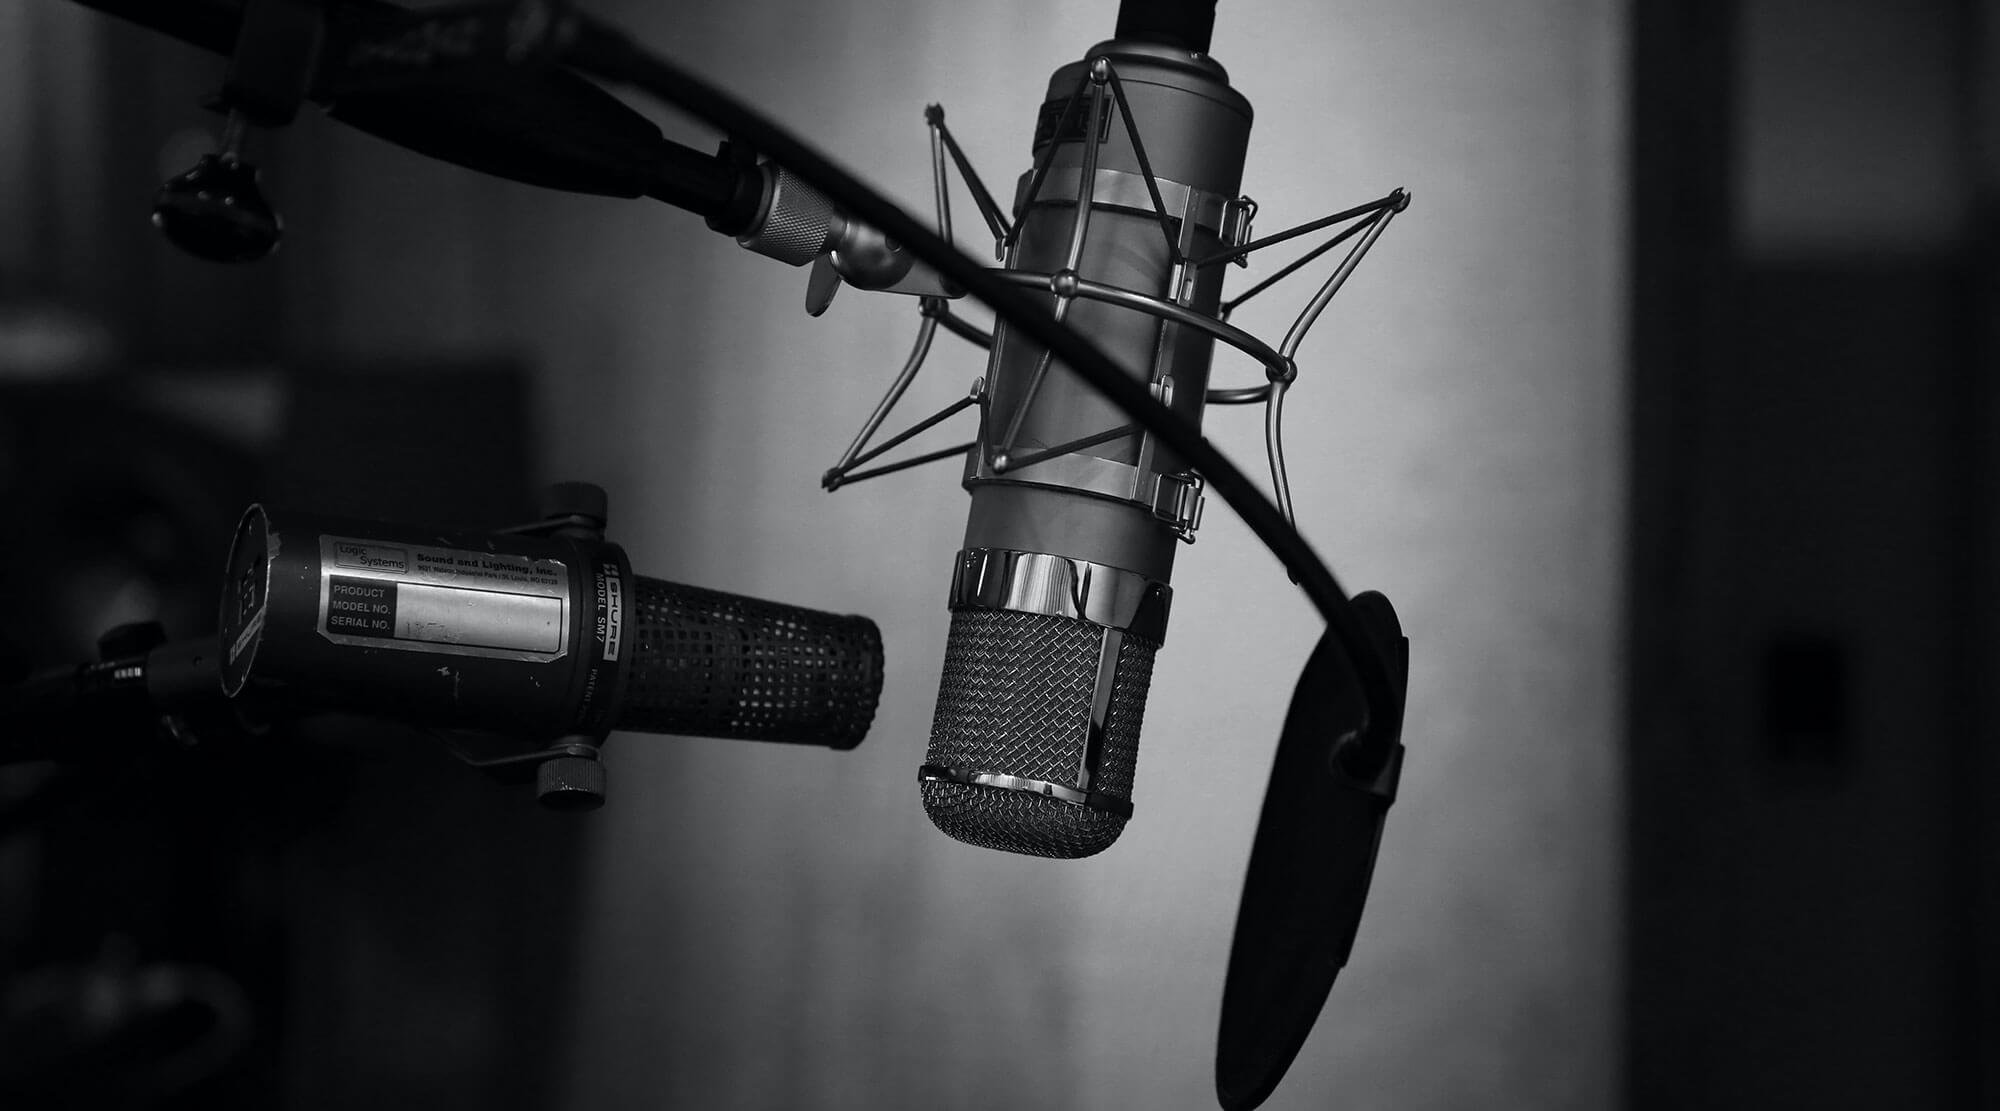
You don’t need to break the budget to record usable audio. Most decent quality gear can sound good if you use it appropriately – one of the reasons Voicetrax offers technical recording courses.

But the question remains – what is “decent” when it comes to recording your voice? It depends a bit upon what you need to do.

VO equipment needs change depending upon where you are in your journey as a voice actor These days, most working voice actors have access to a high quality setup in their home or office. They will often connect in real time from their setup to a remote director (or even a studio). Working at the pro level, you’ll need to produce work that goes directly into a production piece.

You don’t need that to get started. Most voice actors build up to that level over time. It can take a while to soundproof and acoustically treat a room to achieve that quality. (Pro VO’s have been known to record auditions – and even final audio – in the strangest of places when time is tight and they are on the road.)

As a new student practicing with scripts at home, you may need to simply record and play back your voice reliably to hear what you did. Beginning level classes focus on performance, so the need to record is not essential. Some Voicetrax Intermediate level classes will begin to require that students record at home and submit the audio for an instructor’s pre-class review.

The good news is that you can start simply – recording your practice takes and listening back to your performances. That task may use equipment you already have. Find a quiet place and use equipment which your budget allows. As you upgrade, the old gear can become your backup system, or be sold to folks starting out.

RECORDING YOUR VOICE AND PLAYING IT BACK -

Option 1: Your Phone –

Simple and functional – your phone should have very basic “dictation” type recording apps which will capture your voice to a digital file. Perfect for starting out and practicing. You will find that the audio is typically not of quality for production or class work, for a number of reasons. We may sometimes record a quick audition on our phone when we’re unable to use a better setup, but it’s not a replacement for a home studio.

Option 2: Dedicated Hardware Recorders –

Zoom and Tascam both make hand-held recorders which are truly pro-level devices. The good news is that prices have fallen tremendously on these, as most people are using software-based systems to record. Some use this if you don’t have a computer. If you are on a more limited budget, these could be a more economical option while you begin. With some models, you can produce full-spectrum audio and transfer that to a computer for detailed editing. (But that will quickly become a hassle if you have to do it for every audio file). The downside is that the controls can be a little difficult to understand, so there can be a technical learning curve.

Zoomhttps://www.zoom.co.jp/ – Field & Video Recorders
TASCAM https://tascam.com/us/category/Handheld_and_Field_Recorders

Option 3: Computer-based Recording Software –

This is the most commonly used solution. Some of the most popular recording applications are less than $100 (or free). Most work on Windows and MacOS operating systems, so you can use the computer you may already own. These allow you to record via a “USB mic” or other type of microphone via a converter. You can then edit and save your recordings, keeping them for easy reference or class assignments. All of these can produce industry-standard audio formats.

Twisted Wave – My personal favorite, though MacOS only – https://twistedwave.com/
OcenAudio – Good stable program, Mac/Windows/Linux versions – https://www.ocenaudio.com/
Audacity – Free multitrack recording environment with wide support – Mac/Windows/Linux versions – http://www.audacityteam.org/
Studio One – Another multitrack option with a free-level version – Mac/Windows versions – https://www.presonus.com/products/Studio-One

EQUIPMENT FOR YOUR RECORDING SETUP -

Option 1: USB Microphones are Simple and Direct

Just to get slightly pedantic, these are technically “Condenser microphones with a USB connection” which means that you can attach them directly to your computer’s USB port and start recording. But, since most folks call them “USB Mics,” you can too…

These are basically “plug and play” microphones. You don’t need an adapter to connect it to your computer because there are electronics inside which handle the amplification and conversion of the signal so your software can understand it. You should also not go super-cheap here – there are all kinds of inexpensive mics which sound pretty bad. That’s one of the reasons USB mics get a bad rap. There are decent quality USB microphones which can be used for production work, but because these are aimed at the lower end of the market, there are not many pro-level USB mics.

The price of the technology continues to drop, which has significantly increased the quality of this microphone type. New USB microphone models frequently appear. But, the following three are proven and popular.

Rode NT-USBhttp://en.rode.com/microphones/nt-usb
Audio Technica AT 2020 USBhttps://tinyurl.com/mic-at2020-usb-plus
Apogee MiC+http://www.apogeedigital.com/products/mic
Note – If you get a USB microphone, you will not need an interface.

Option 2: XLR-Connected Condenser Microphones

Pro level microphones will use an “XLR” connector. They produce output which needs to be converted into the 1’s and 0’s which your computer can deal with (see “Interface/Converter” below). These are the microphones which make up the majority of the market. The sound quality is generally better and you have more models to choose from.

Everyone has a favorite microphone and you can certainly spend a lot of money on one. The mics below are generally found under $300, which is an appropriate amount to invest if you are getting serious about pursuing VO. Below are good quality models with a proven track record. They connect through a USB Interface (described below – you’ll need both to make it work). You will also need a microphone stand – they are not “hand held”. Most of these microphones are extremely sensitive to sound, so they will tend to pick up environmental noises and reflections which you might not notice – something we address during my Intro To Home Recording class.

Rode NT1http://www.rode.com/microphones/nt1
SE X1 S “Vocal Pack”https://www.seelectronics.com/se-x1s-microphone/
Audio-Technica AT2035https://www.audio-technica.com/en-us/at2035

As you might guess, you can spend a lot more than this on a microphone. But when starting out, I’d tend to be a bit conservative. You’ll likely need to invest in tuning up your recording space. As you’ll hear me say in class – no mic will ever sound better than the space it is in. Also – no microphone can ever make up for a bad performance!

You may also hear about a “shotgun” style microphone. These are more directional and often used on film sets to record dialog. In some cases they can work as VO microphones. I generally don’t recommend these for newer voice actors, as they can be a little trickier to position properly. But, they do tend to not pick up as much background noise. The most recommended models (Sennheiser 416 and Rode NTG5) are expensive, but I’ve had a few clients and students using the Synco D2, which is more budget friendly.

Synco D2 shotgun style microphone – https://www.syncoaudio.com/products/sy-d2-bk

One more thing… XLR Microphones Need a USB Interface/Converter
This is a device that goes between a traditional “XLR” microphone and a computer. It allows you to use a wider variety of microphones, including specialty mics which are more directional. Although some people refer to these as “preamps” they actually do a lot more. This is another place where we have benefitted by the quality improvements at various price points. We get deeper into the how/why specifics in the recording classes, but two popular models are below. Models which accept two and one microphones as input are listed.

FocusRite Scarlett Series – 2i2 and Solo models – https://us.focusrite.com/scarlett-range
Steinberg – UR22mkII and UR12 models – https://www.steinberg.net/en/products/audio_interfaces/ur_serie/start.html

Recording Basics Checklist –

  • Enthusiastic VO student
  • Excellent coaching
  • A quiet and non-echoey space to record
  • Microphone w/ pop screen
  • Microphone stand
  • Copy stand to hold scripts
  • Cable to connect mic to converter (or directly to your computer)
  • Converter (unless you are using a USB-direct-connected microphone)
  • Computer running recording software
Back to top of page
WordPress Image Lightbox Plugin